After a long night of staying up, it is finally done! Behold! A whole months worth of labor finally fulfilled!!
Microbio student looking to bake some bread with home grown yeast culture.
After a long night of staying up, it is finally done! Behold! A whole months worth of labor finally fulfilled!!
Finally managed to get my hands on a dutch oven! Thank you Prof. Salmassi for letting me borrow your personal one. But, with that it means that this experiment is beginning to wind down and come to a close.
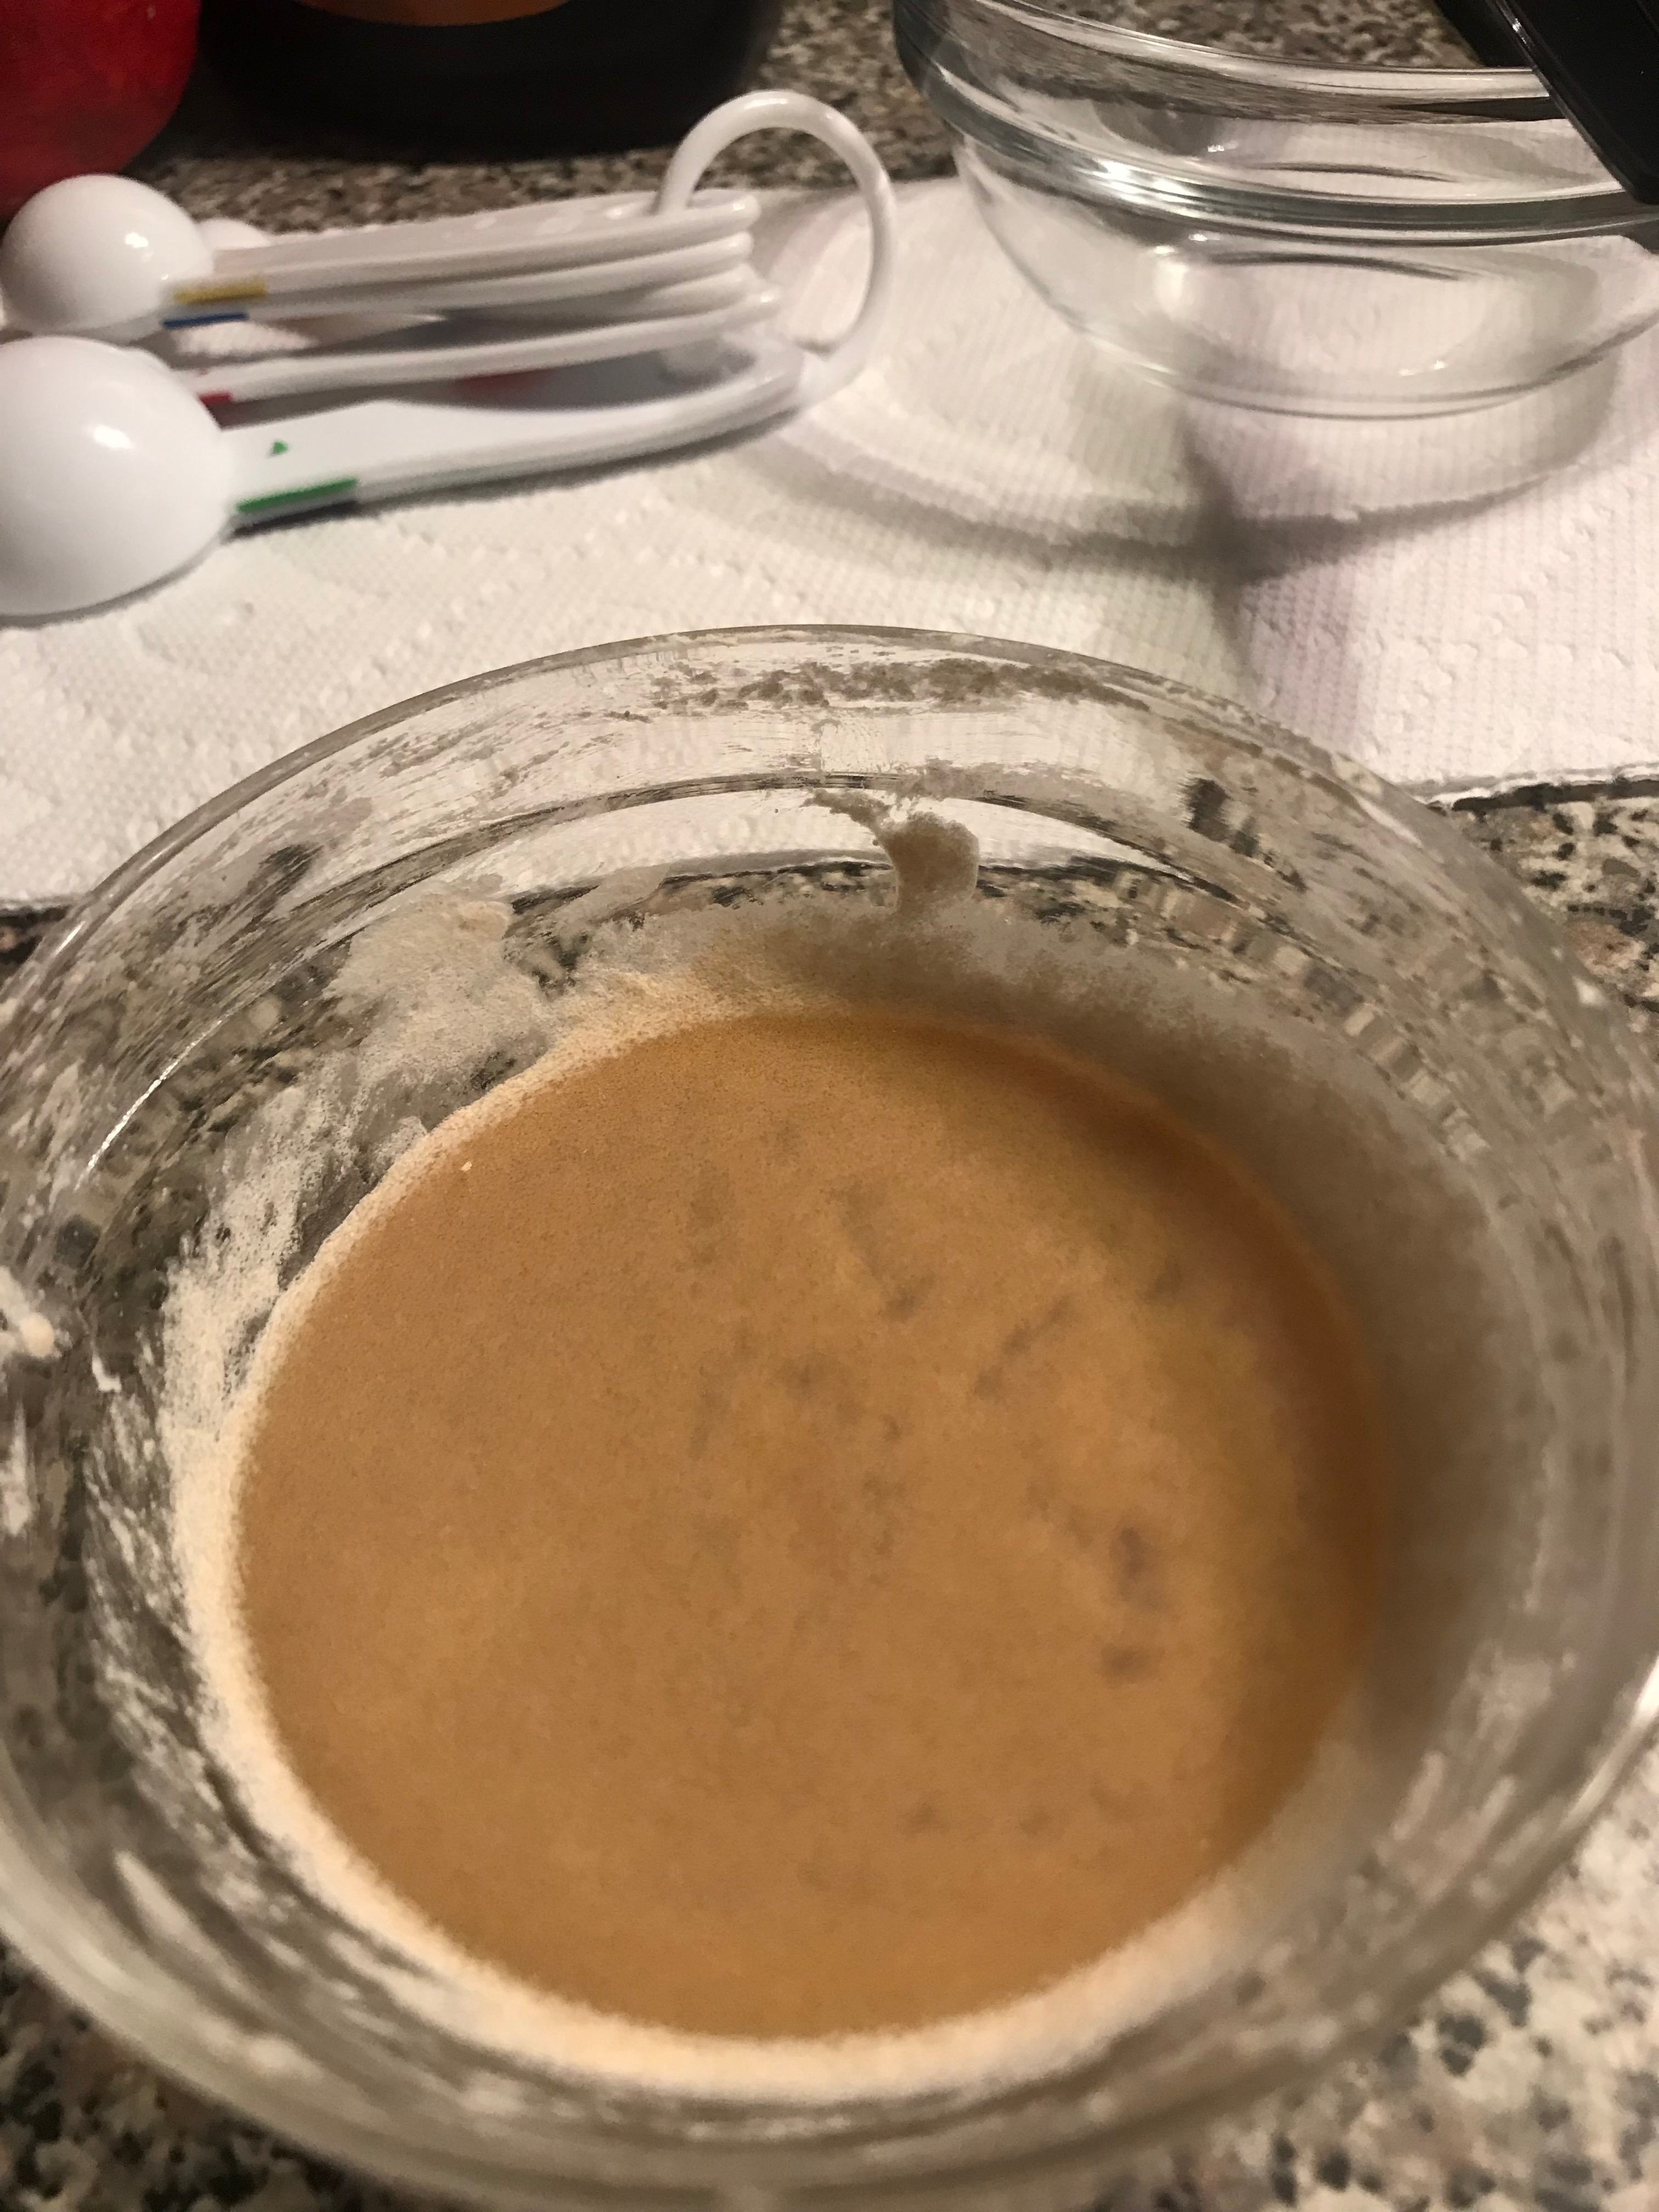
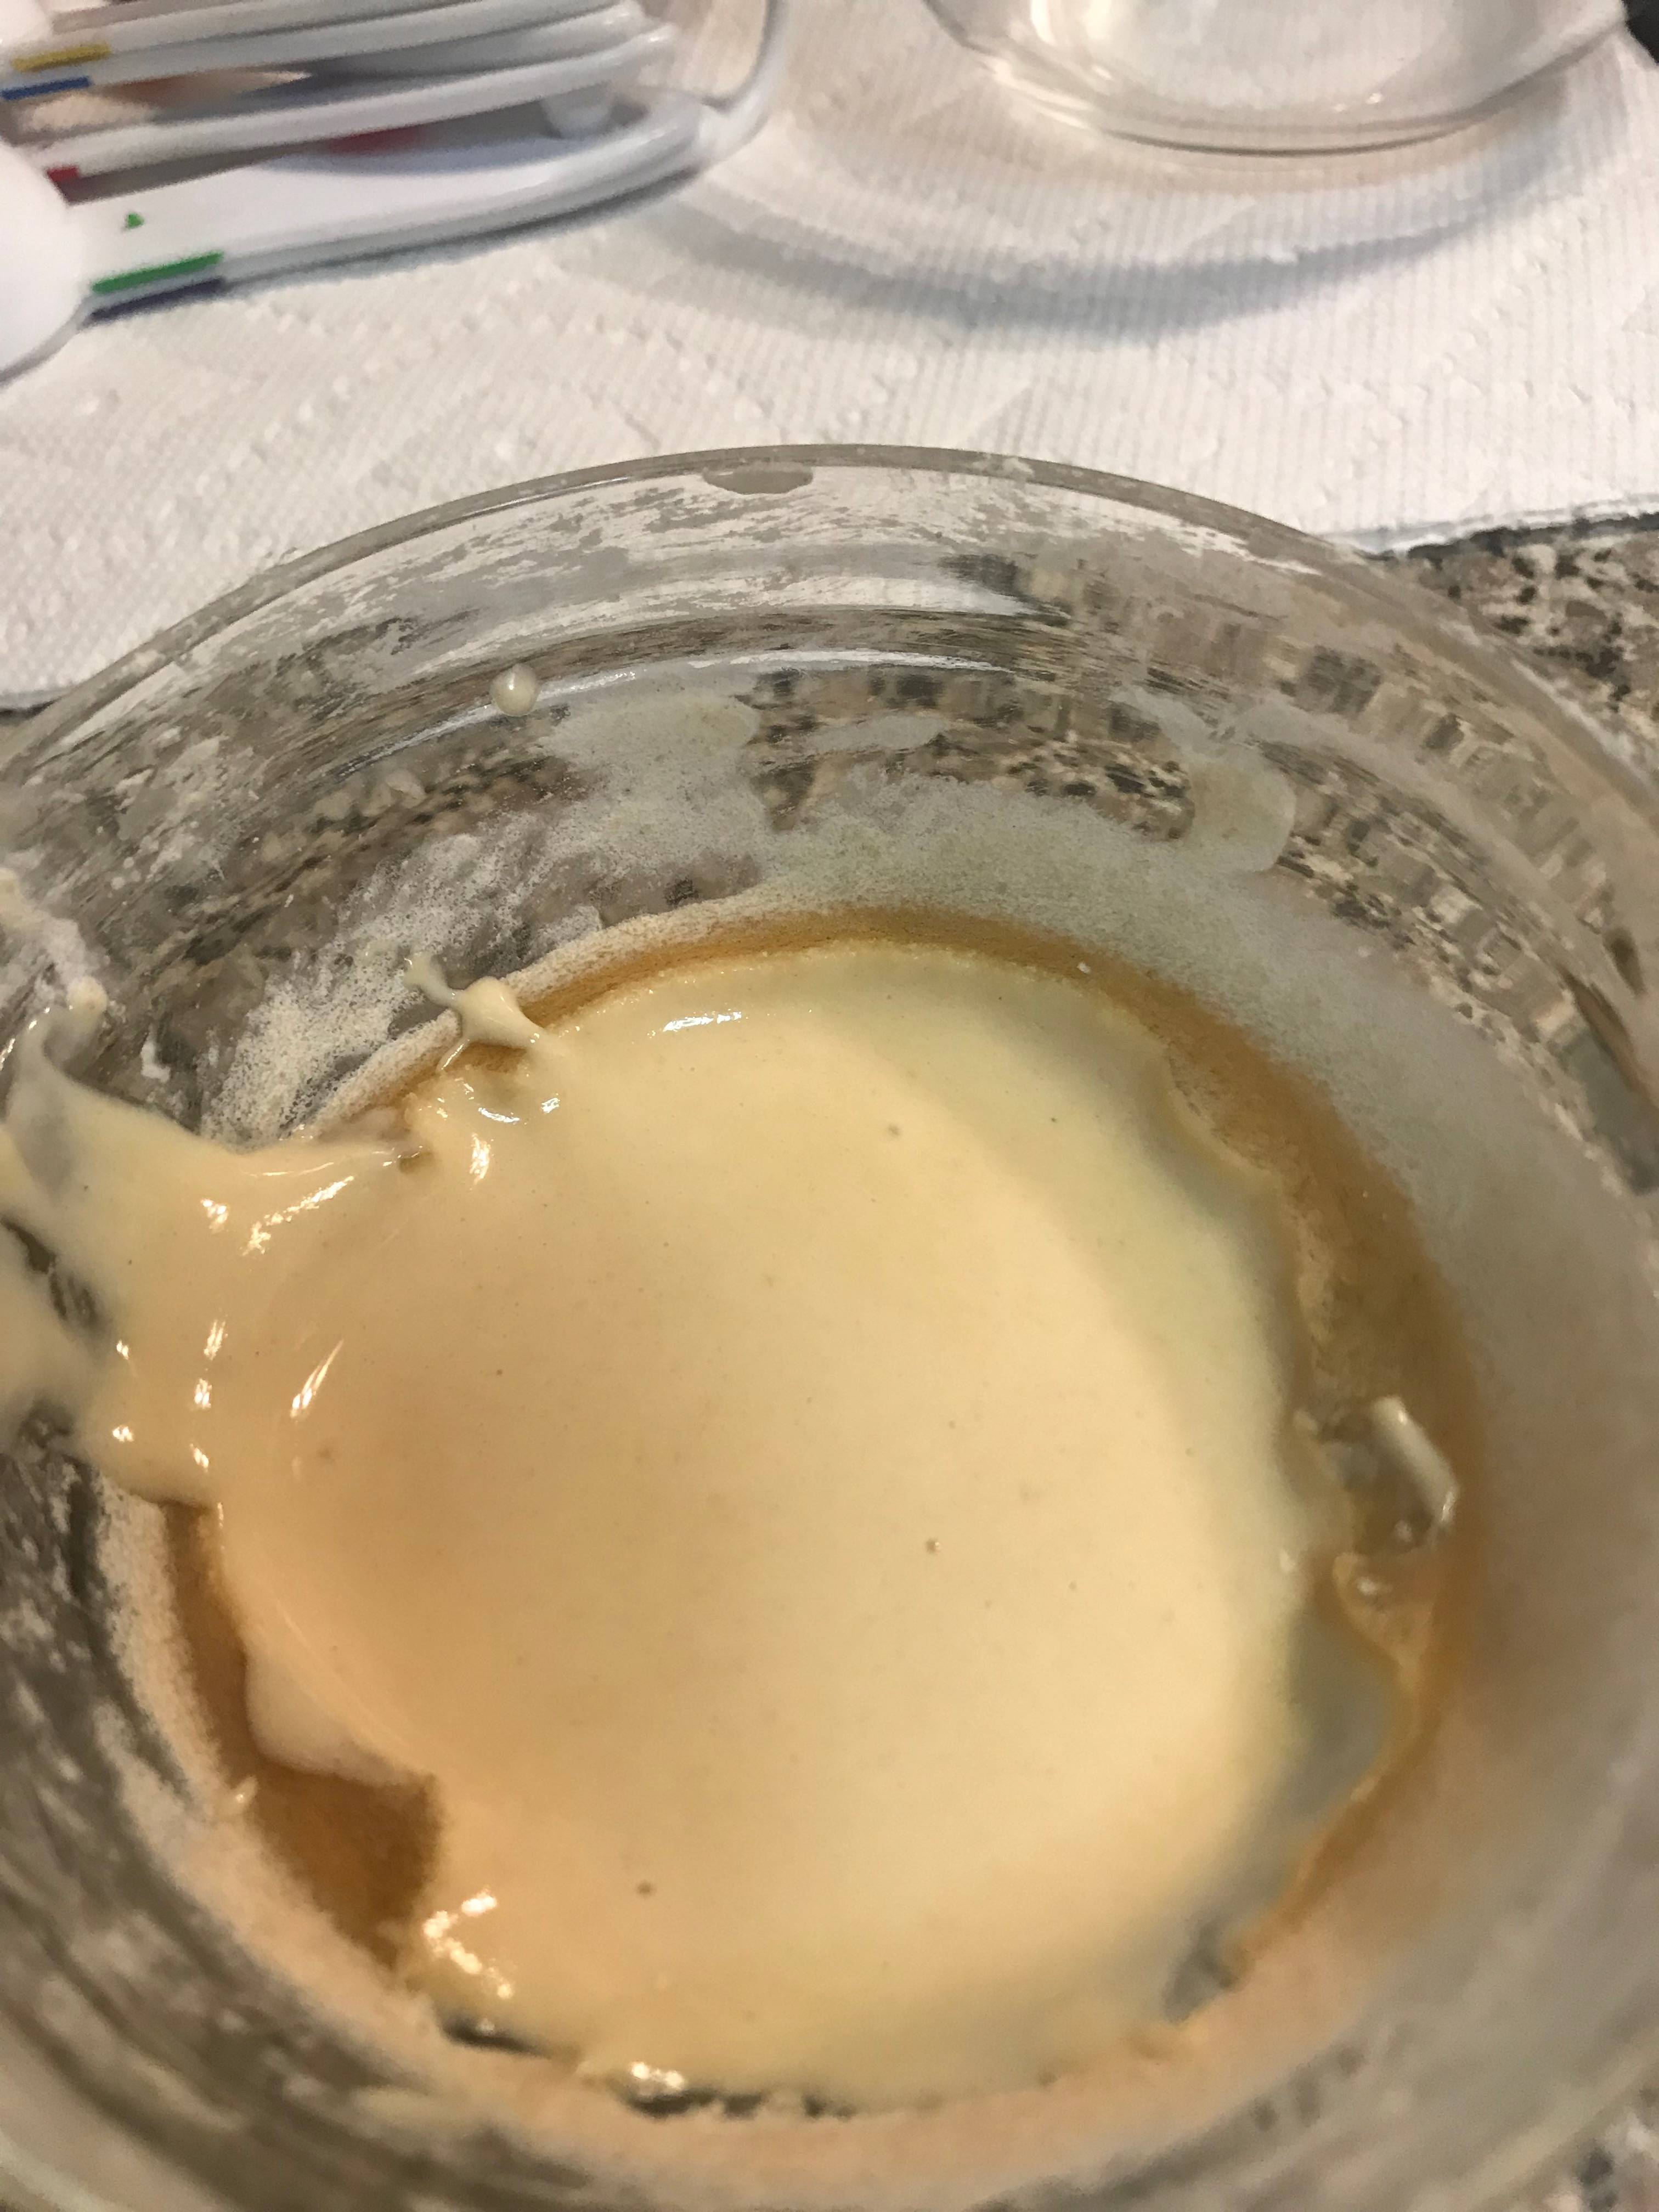
The night before, on April 17, I prepared a final bulk batch of my culture that I would then use to produce the leavening agent for my bread. I prepared the final bulk using a mix of 1 2/3 cups of the flour mix, 1 tbsp of the culture that I’ve been growing, and enough water to leave the culture with a smooth consistency. I then left it to ferment in its usual spot within the kitchen.
The morning after, on April 18, before heading to school I preformed a float test on the leavening agent. The leaven passed with floating colors, which helped indicate that it was ready to proceed to the next stage. I discarded half of my leaven, and to the remaining half I added 1/2 and 1/3 cups of flour mix and enough water to get a smooth consistency. I left it to rest for 2 1/2 hours, afterward I conducted a 2nd float test. This second batch is used to make a “younger” leaven, as the one from the night before was able to ferment for a longer time. Thus producing a more acidic taste, which we are trying to cut back on.
So you maybe wondering, why is a float test needed and what does it indicate?
Well a float test is used to indicate the presence of air bubbles within the leavening agent, it is usually done using 1/2 tsp of the leaven. The float test, you are checking to see if the leaven has fermented long enough to produce a sufficient amount of air bubbles, it is also an indication that the microbes within your leaven are alive and healthy. During the float test you are checking to see if the leaven has enough air bubbles within it in order to float in a tall glass of water. As it is these air bubbles that will allow the bread to rise and form all those lovely air pockets inside the bread as it bakes. So if the leaven floats, you’re good to go! If it sinks, the leaven may need some more time to ferment and develop air bubbles. Or while transferring the leaven into the water you were too rough and managed to deflate the leaven sample, if so then try again to see if it floats.


I will be posting hourly updates on the culture, until I fall asleep to indicate its progress for the night.


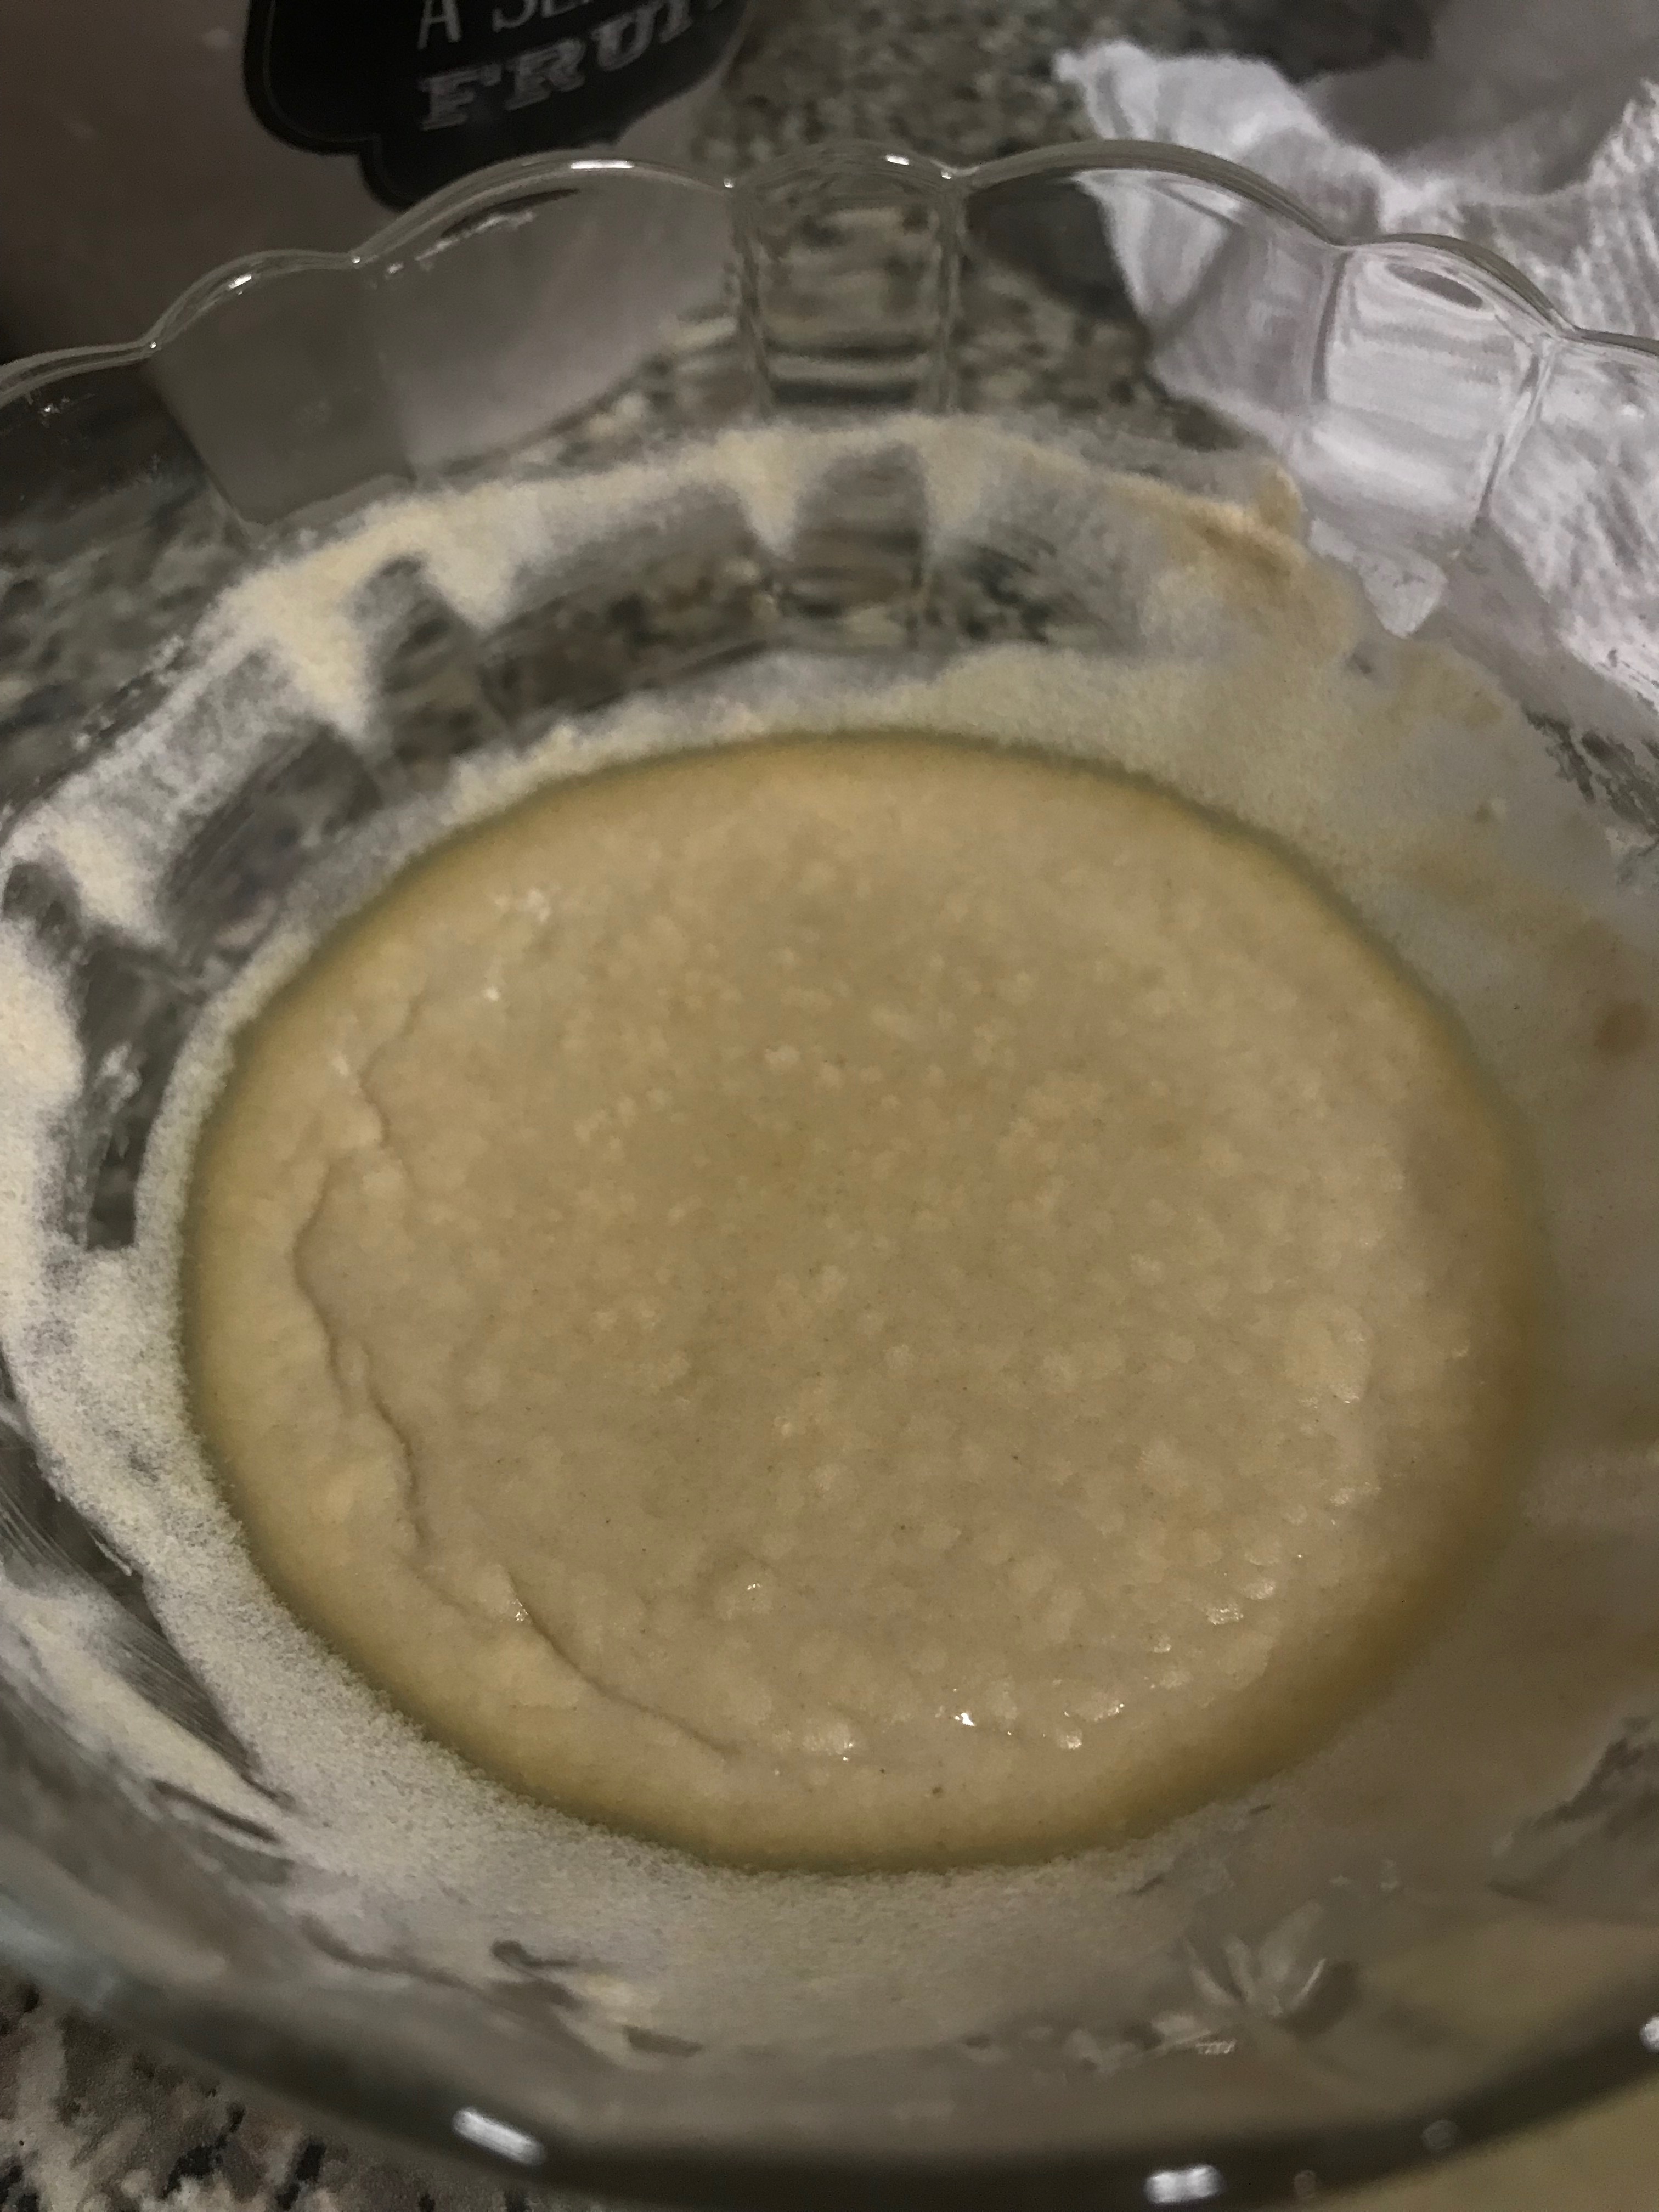
Once again when checking on the culture it had a puffed center, showing active gas production by the bacteria present in the culture. The culture is also a lot thicker in consistency now then when I had first started this experiment. The smell has also taken on a “pure” sourdough aroma, there is no lingering hints of cheese or a general funk smell present anymore.
My nephew walked into the kitchen as I was preparing the new batch and had asked to smell the culture; he remarked that it smelled like breakfast, like the bread he eats in the morning before it’s toasted. Since he eats sourdough bread for breakfast, I’ll take his comment as a hint that the culture is heading in the right direction.
Photo Updates:


Update on the fuzzy stuff I had previously found on the culture, I can confirm that it was lint from the kitchen towel and not mold. It’s probably a result of being left to incubate for a longer time than usual.
After removing the skin from the culture I noticed that there wasn’t much of a smell to it today. It smelled faintly of the sough dough smell previously mentioned but it definitely wasn’t as strong. Before transferring into a new bowl I noticed that the culture had also turned a golden brown color this time around, which contrast to the usual off-white color that it has when observed through the glass bowl. Once I transferred the culture and replenished it with the mix and water it did go back to having that off-white color. The golden brown color change could possibly be due to the culture reaching a mature state during this experiment, as we are getting closer to the baking date, but we’ll see if it stays its usual color or if it darkens in color again tomorrow.
When going back to check on the culture today, I came to the surprise of finding that a fuzzy substance had grown on the culture. Luckily, the skin had formed and protected the culture below from an y contamination. I had also noticed that there was a small space of separation between the skin and the culture layers.
The smell of this culture batch was a bit faint when compared to the previous batch. After removing the skin, I proceeded with collecting, feeding, and watering my new culture batch. Once that was done I covered it and placed it back into its designated fermenting area.
Today is the day! When checking back in on the culture, I noticed that the smell was very reminiscent of that classic sourdough bread smell! With this step being reach the process of cultivating the yeast starter culture is coming along great. Let’s just hope that nothing goes wrong from here on, because we’re getting closer to bread baking time!
There was one misstep today however, when make the new batch of yeast mix I had accidentally added a bit too much water to the mix and had to add ~1tsp of extra flour mix in order to thicken the culture mix once again to its proper consistency.
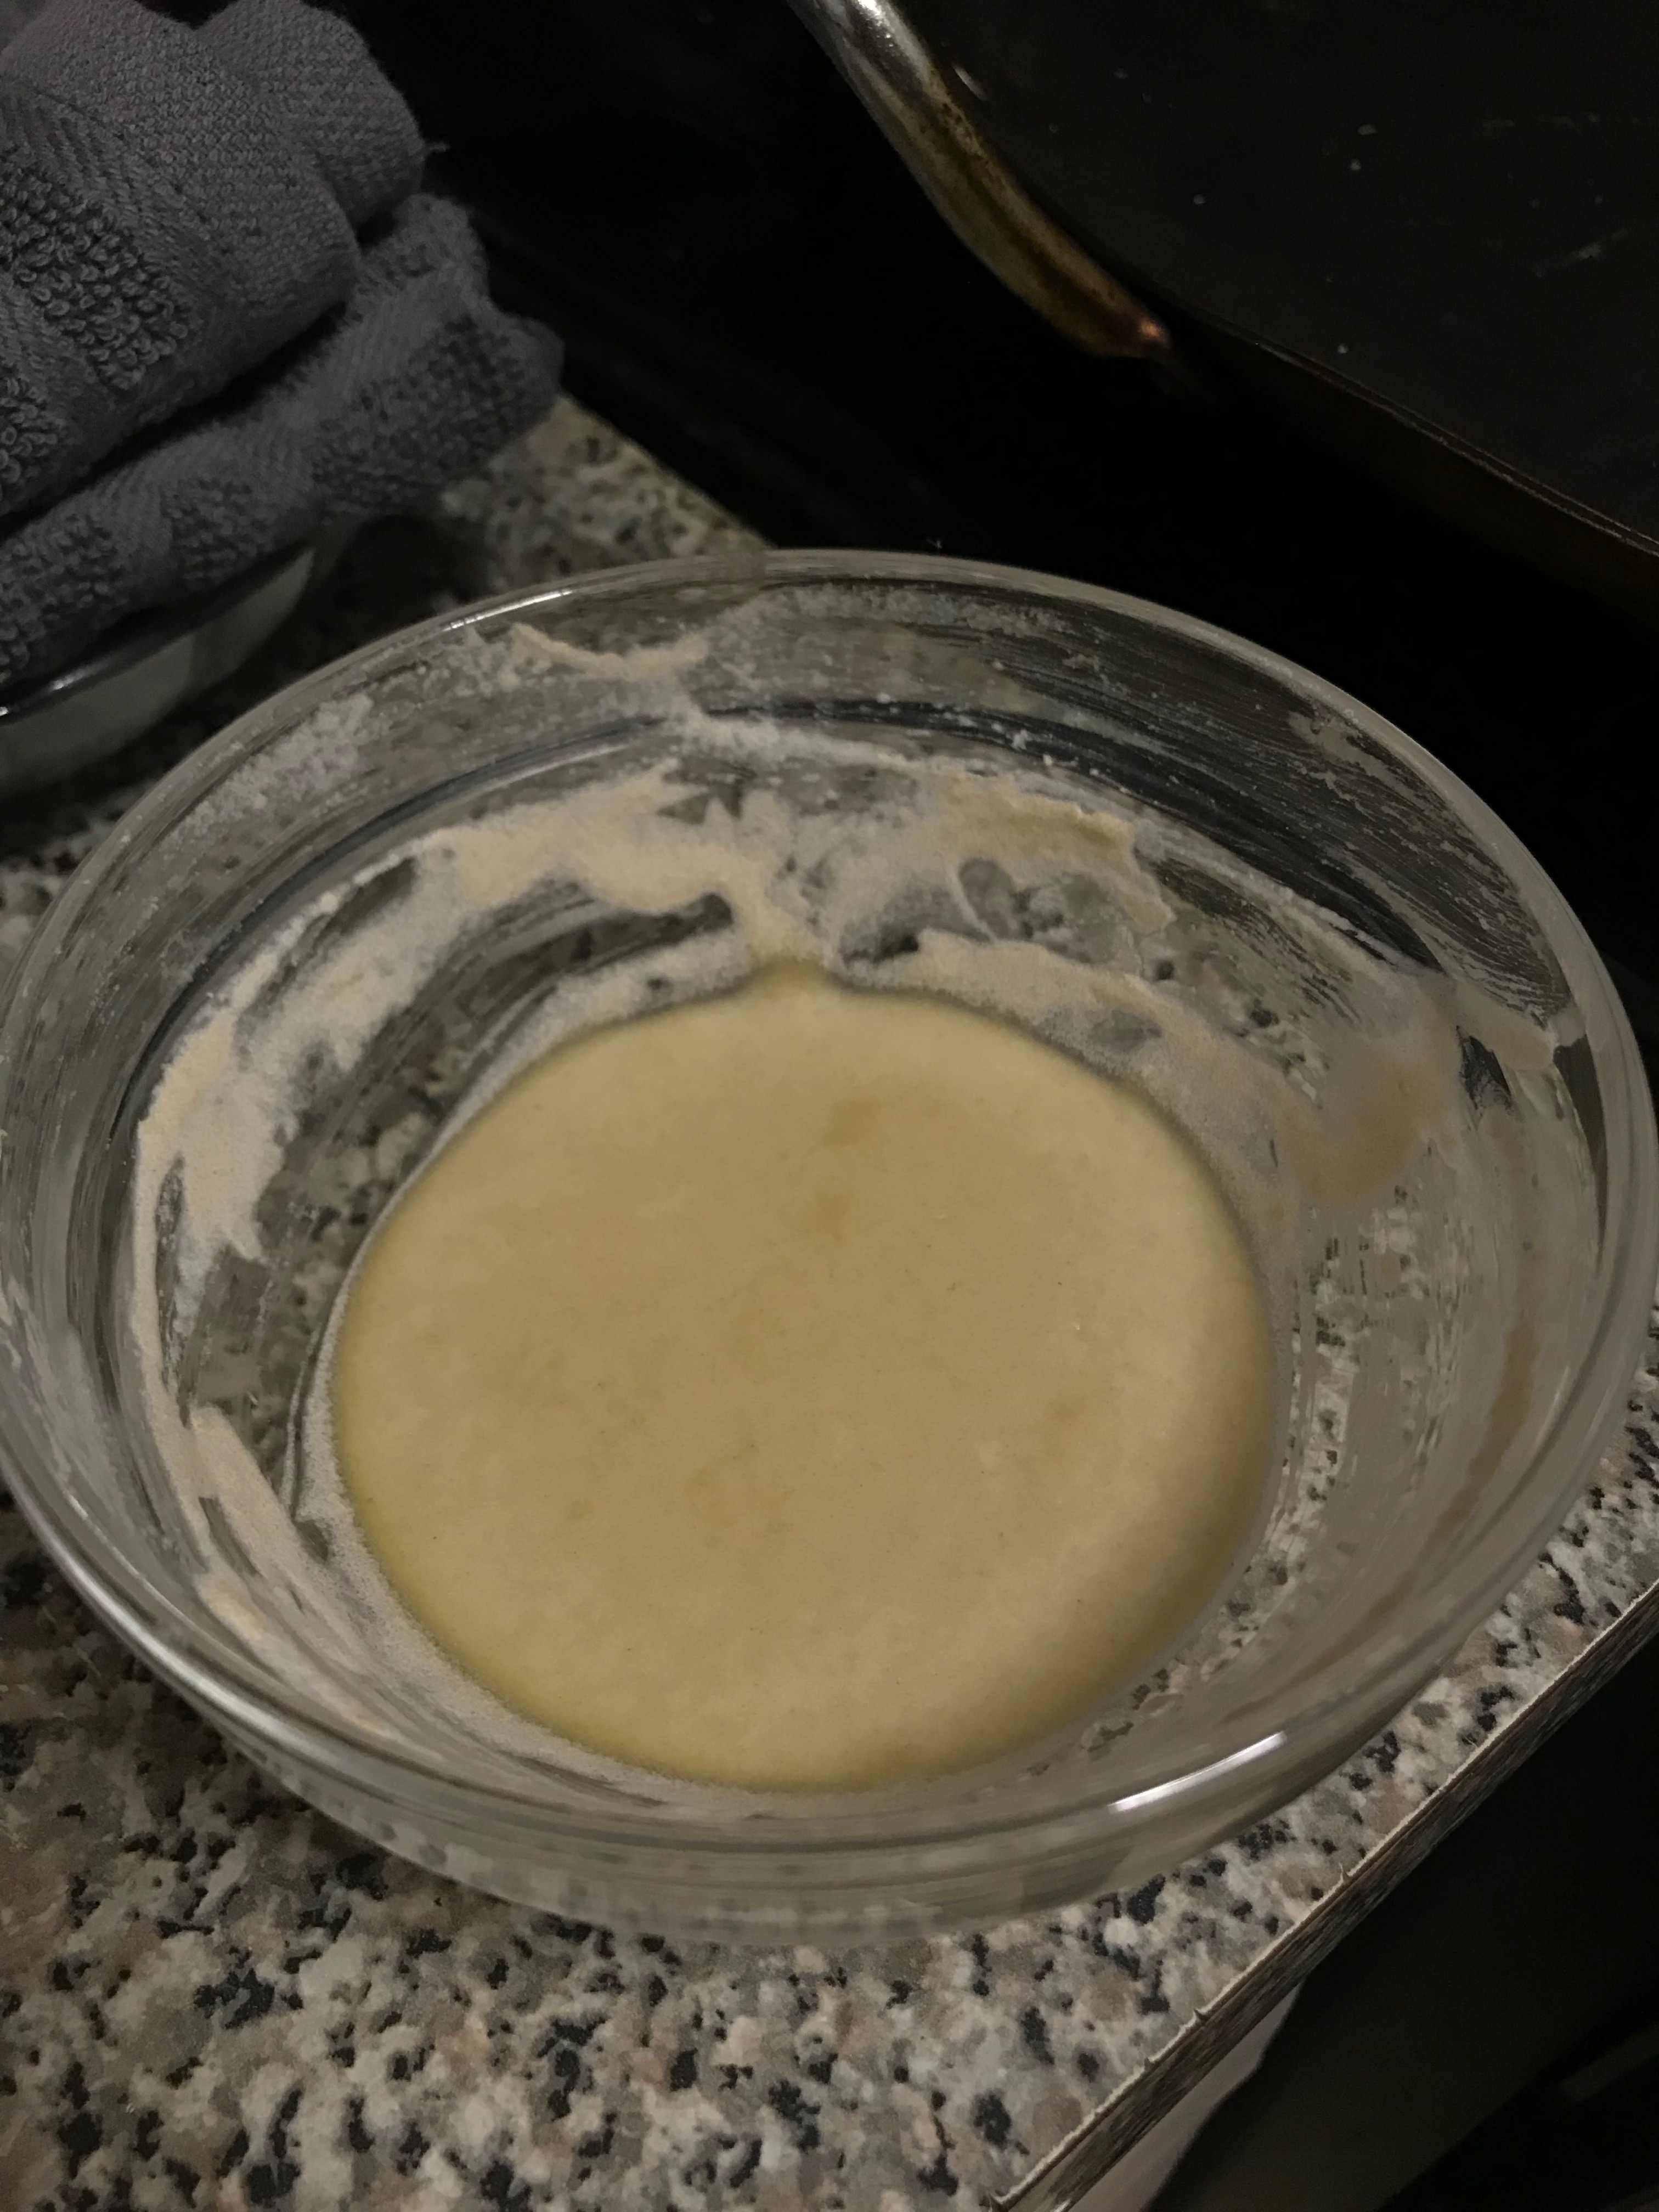
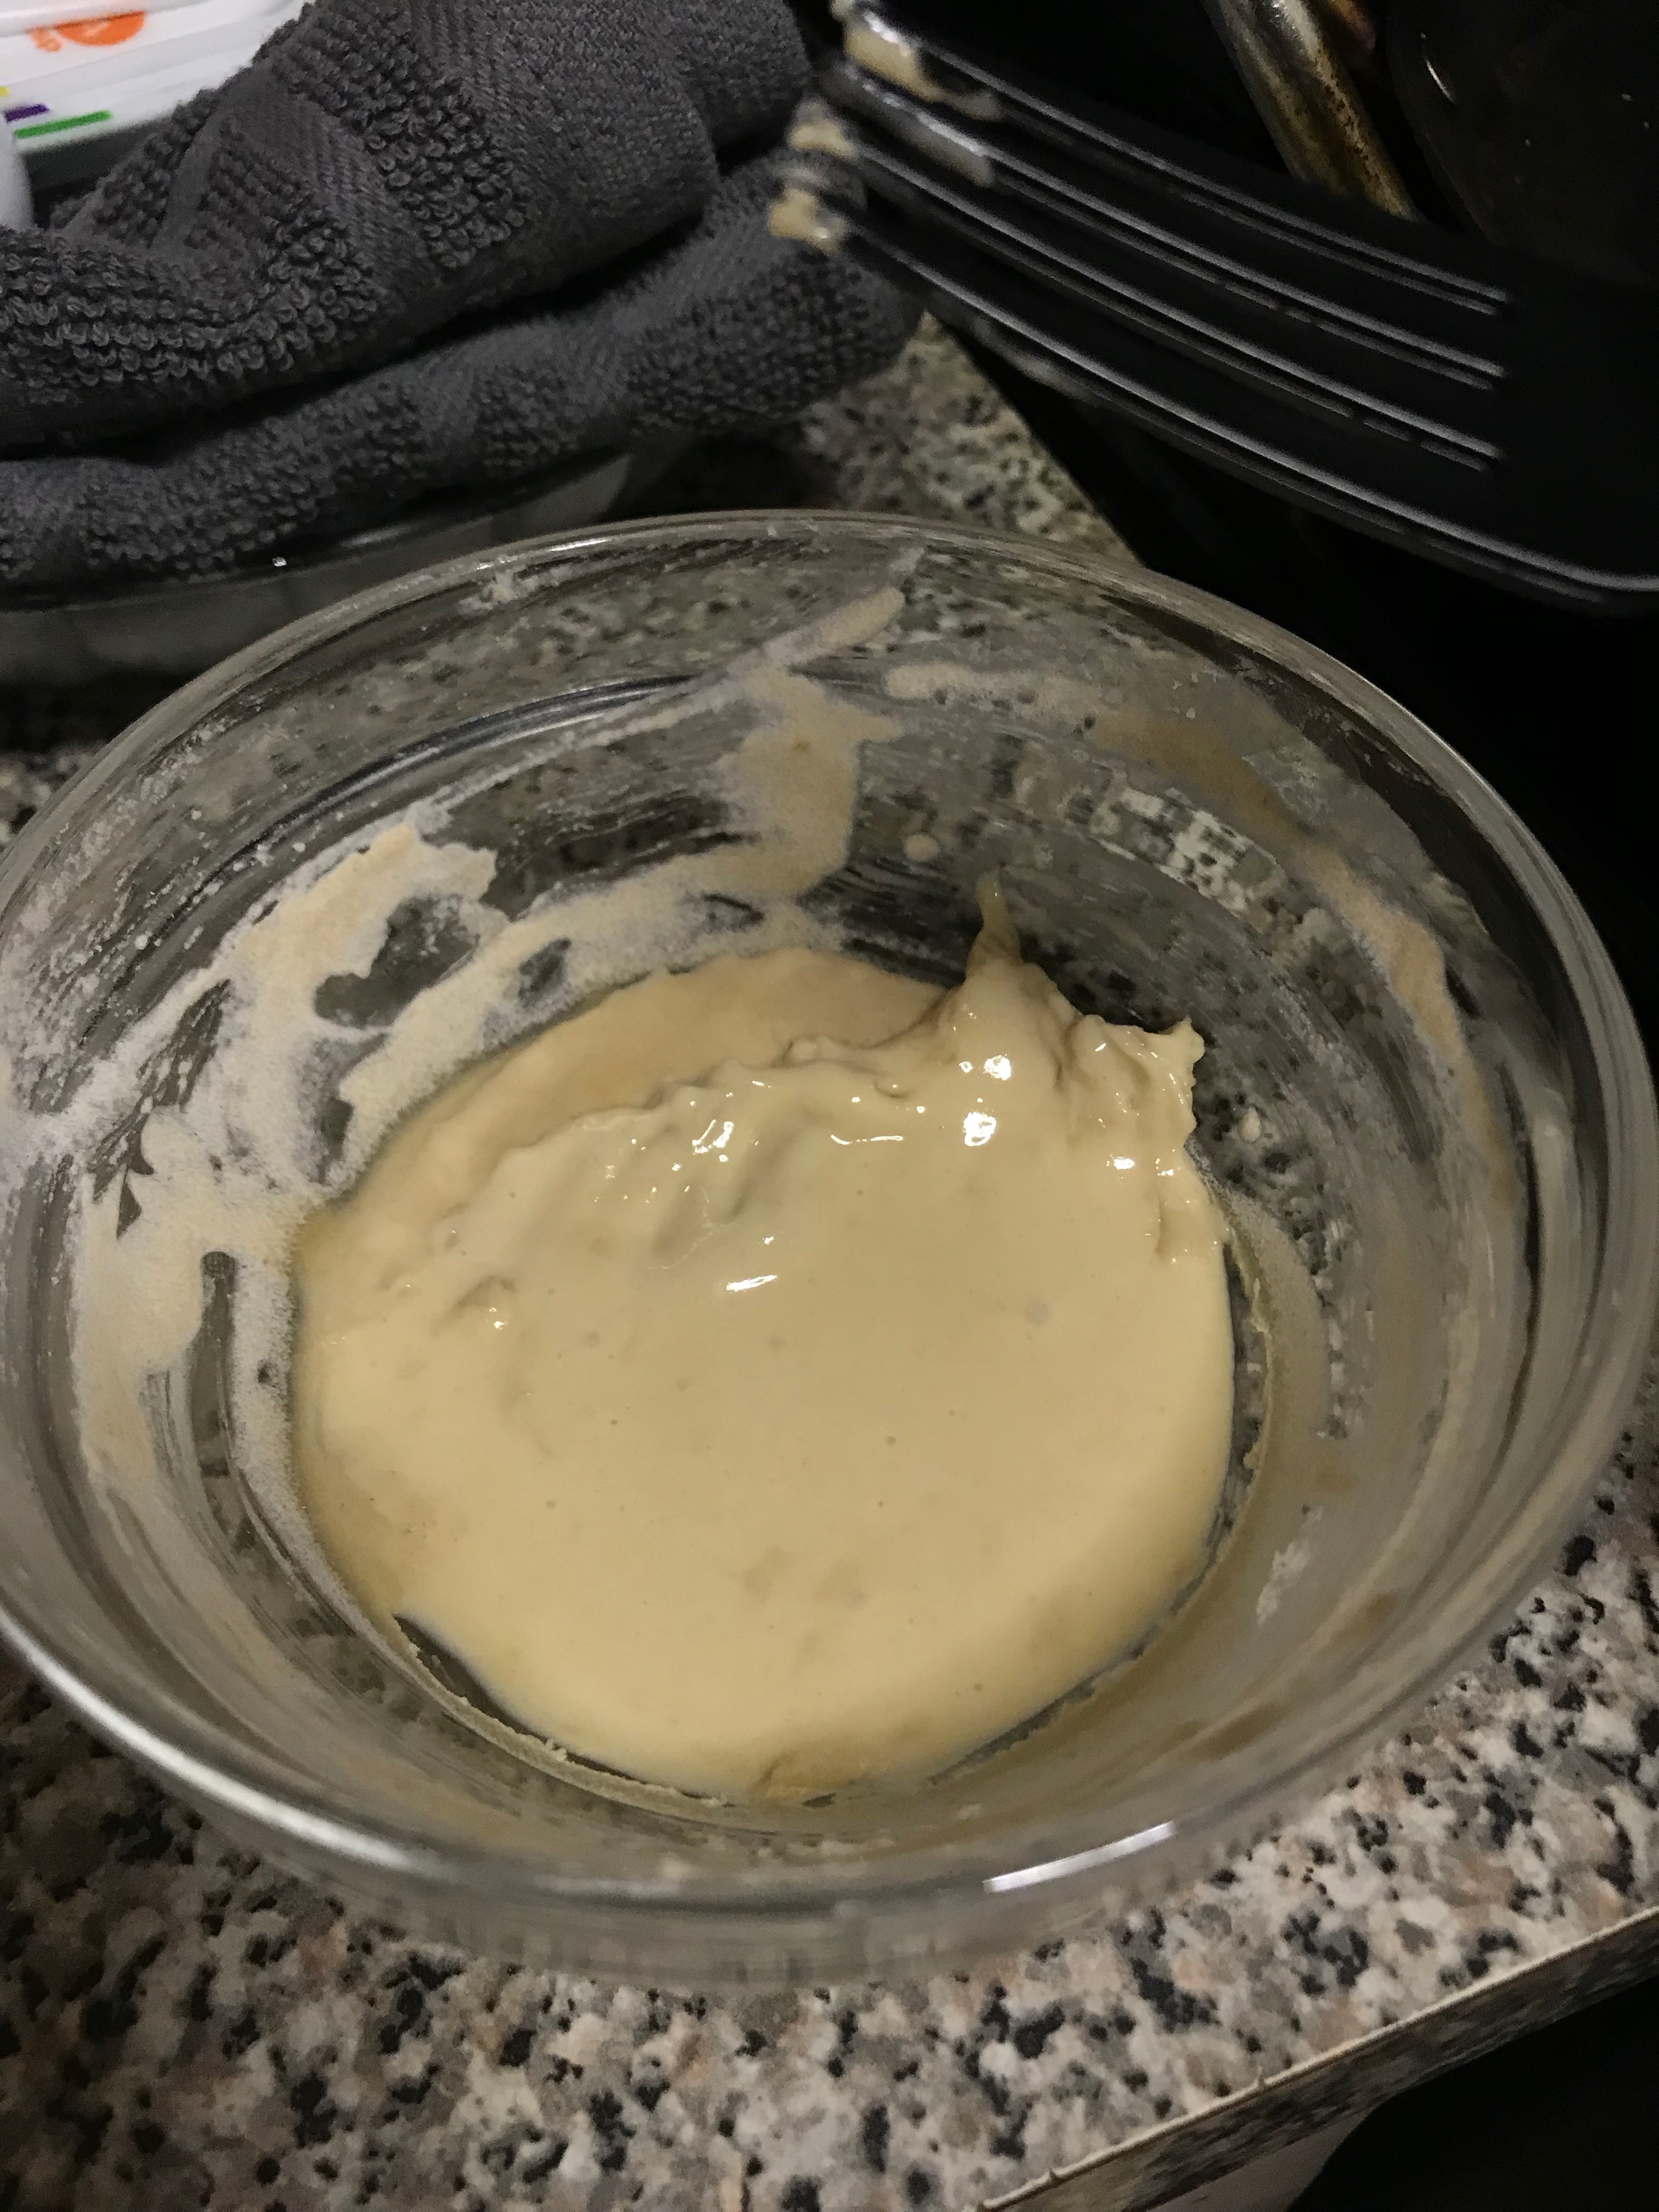
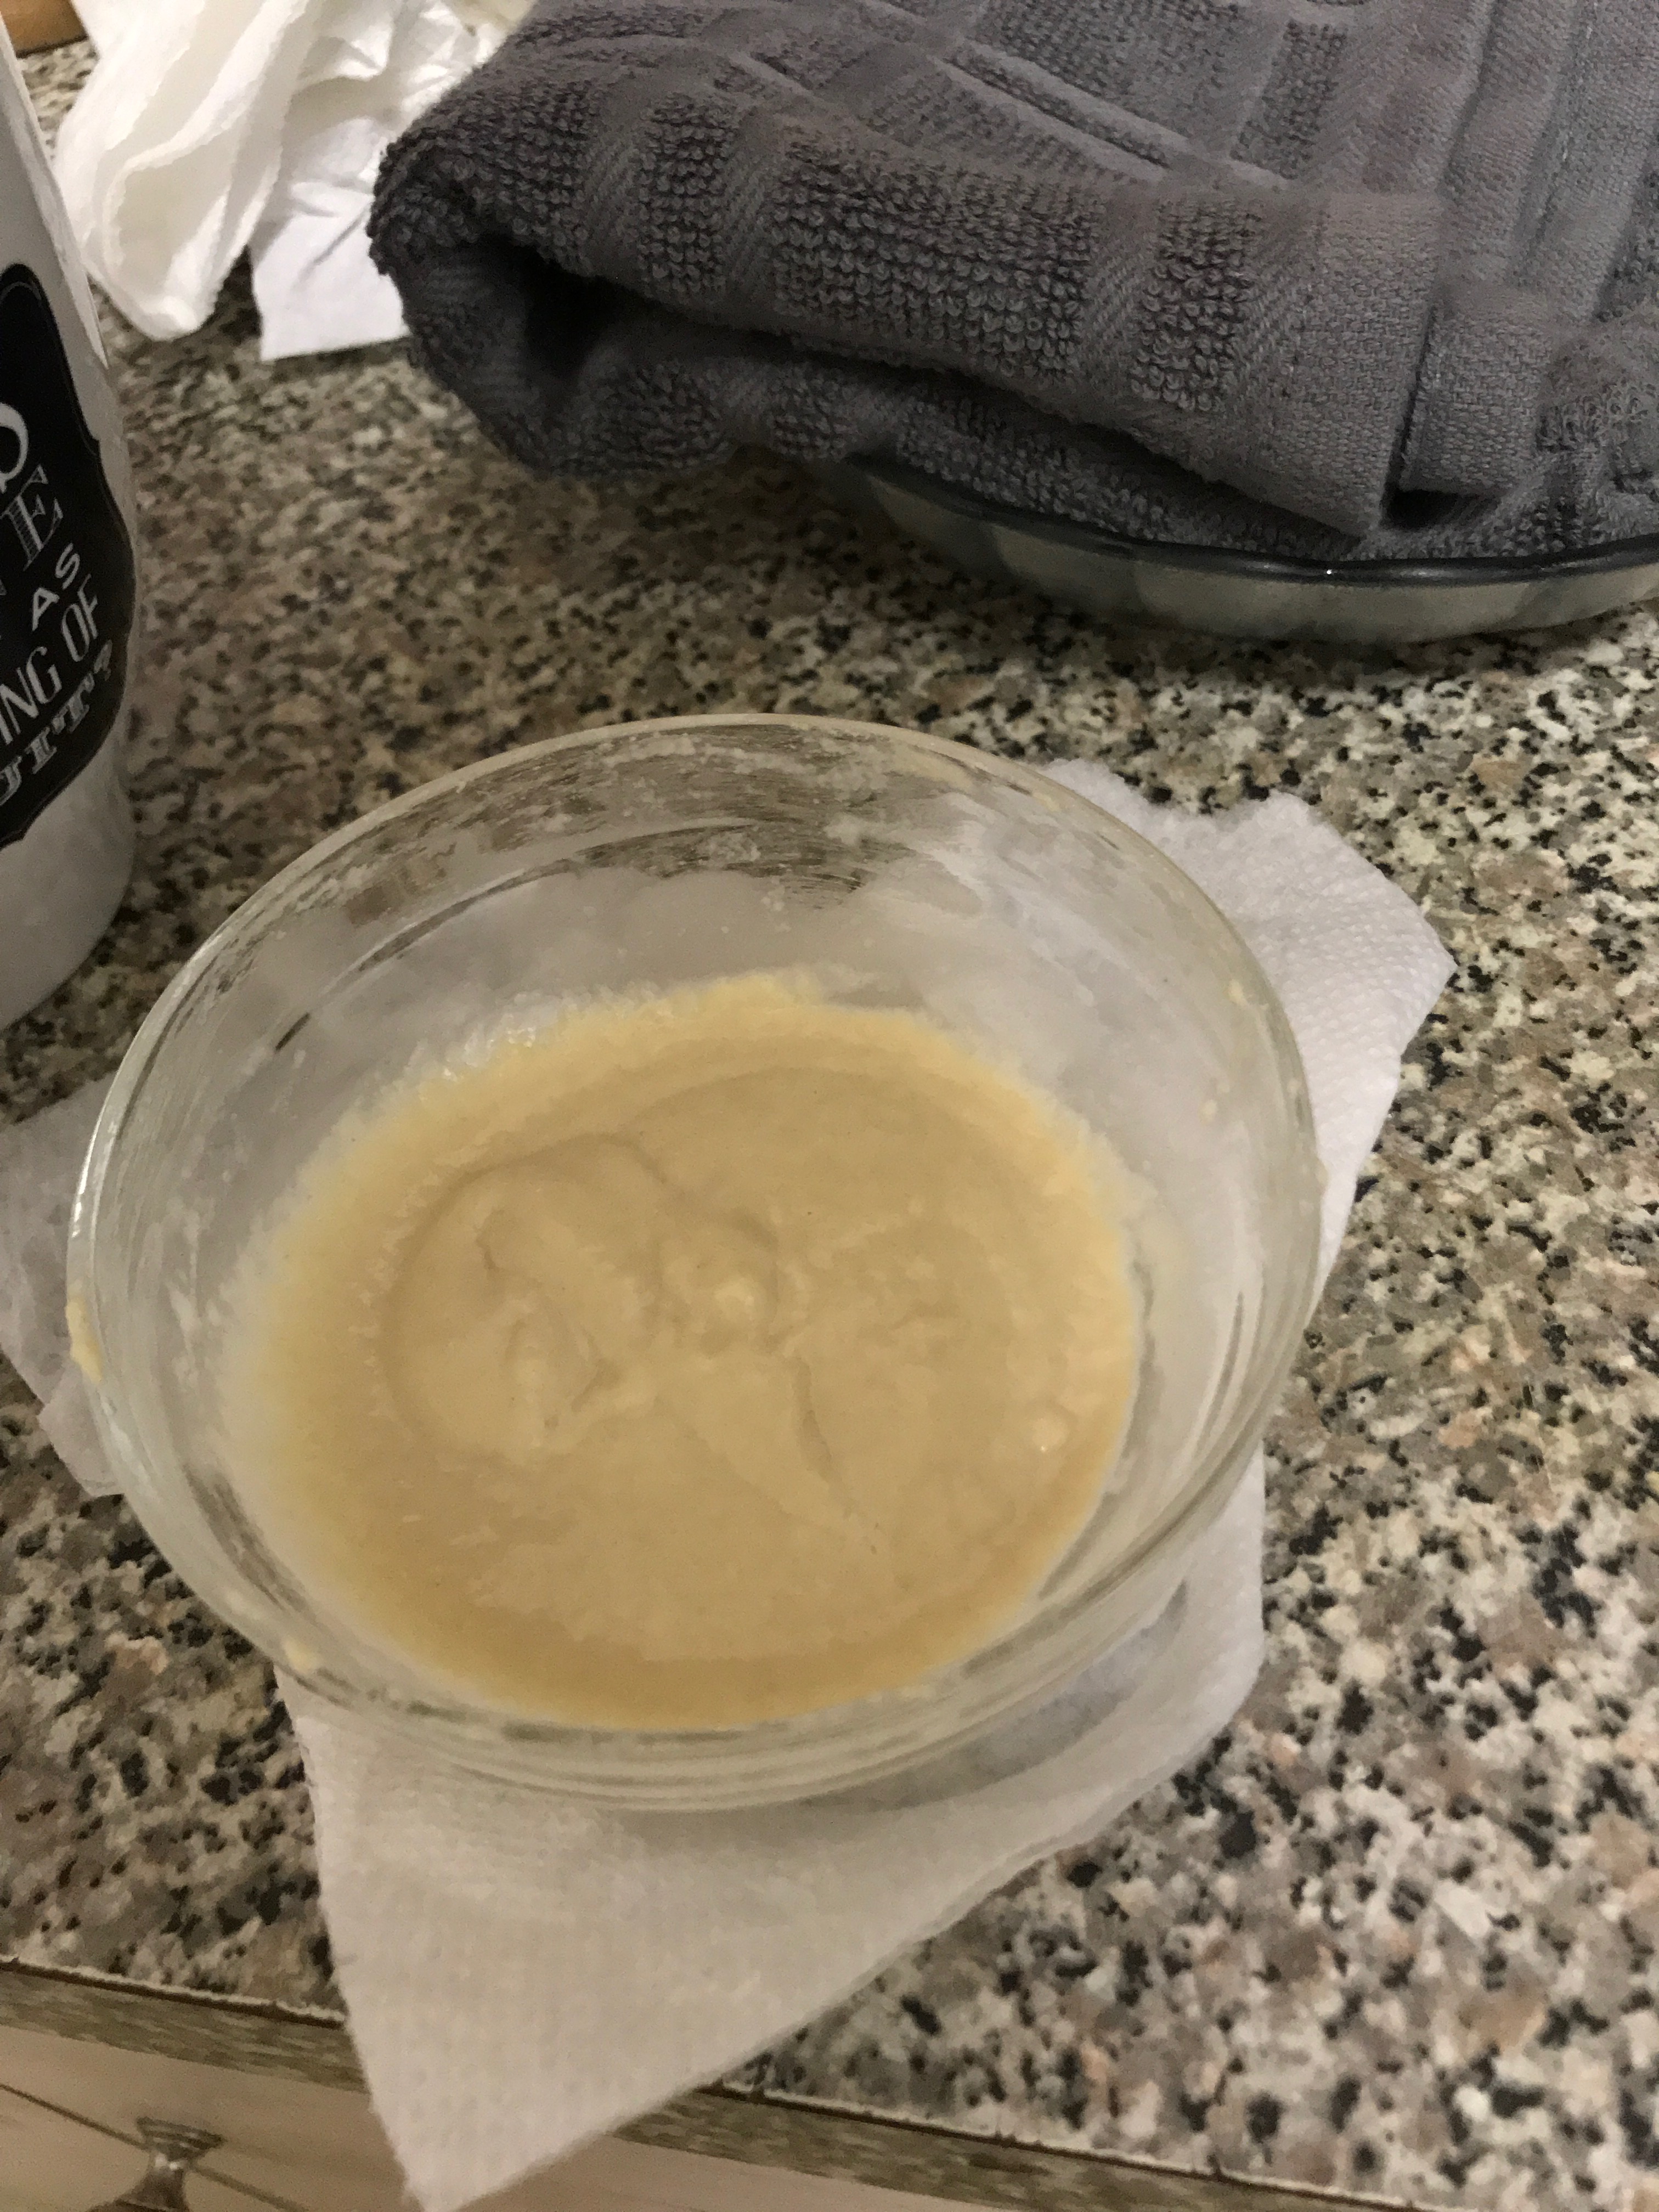
Photo Update: