Day 9

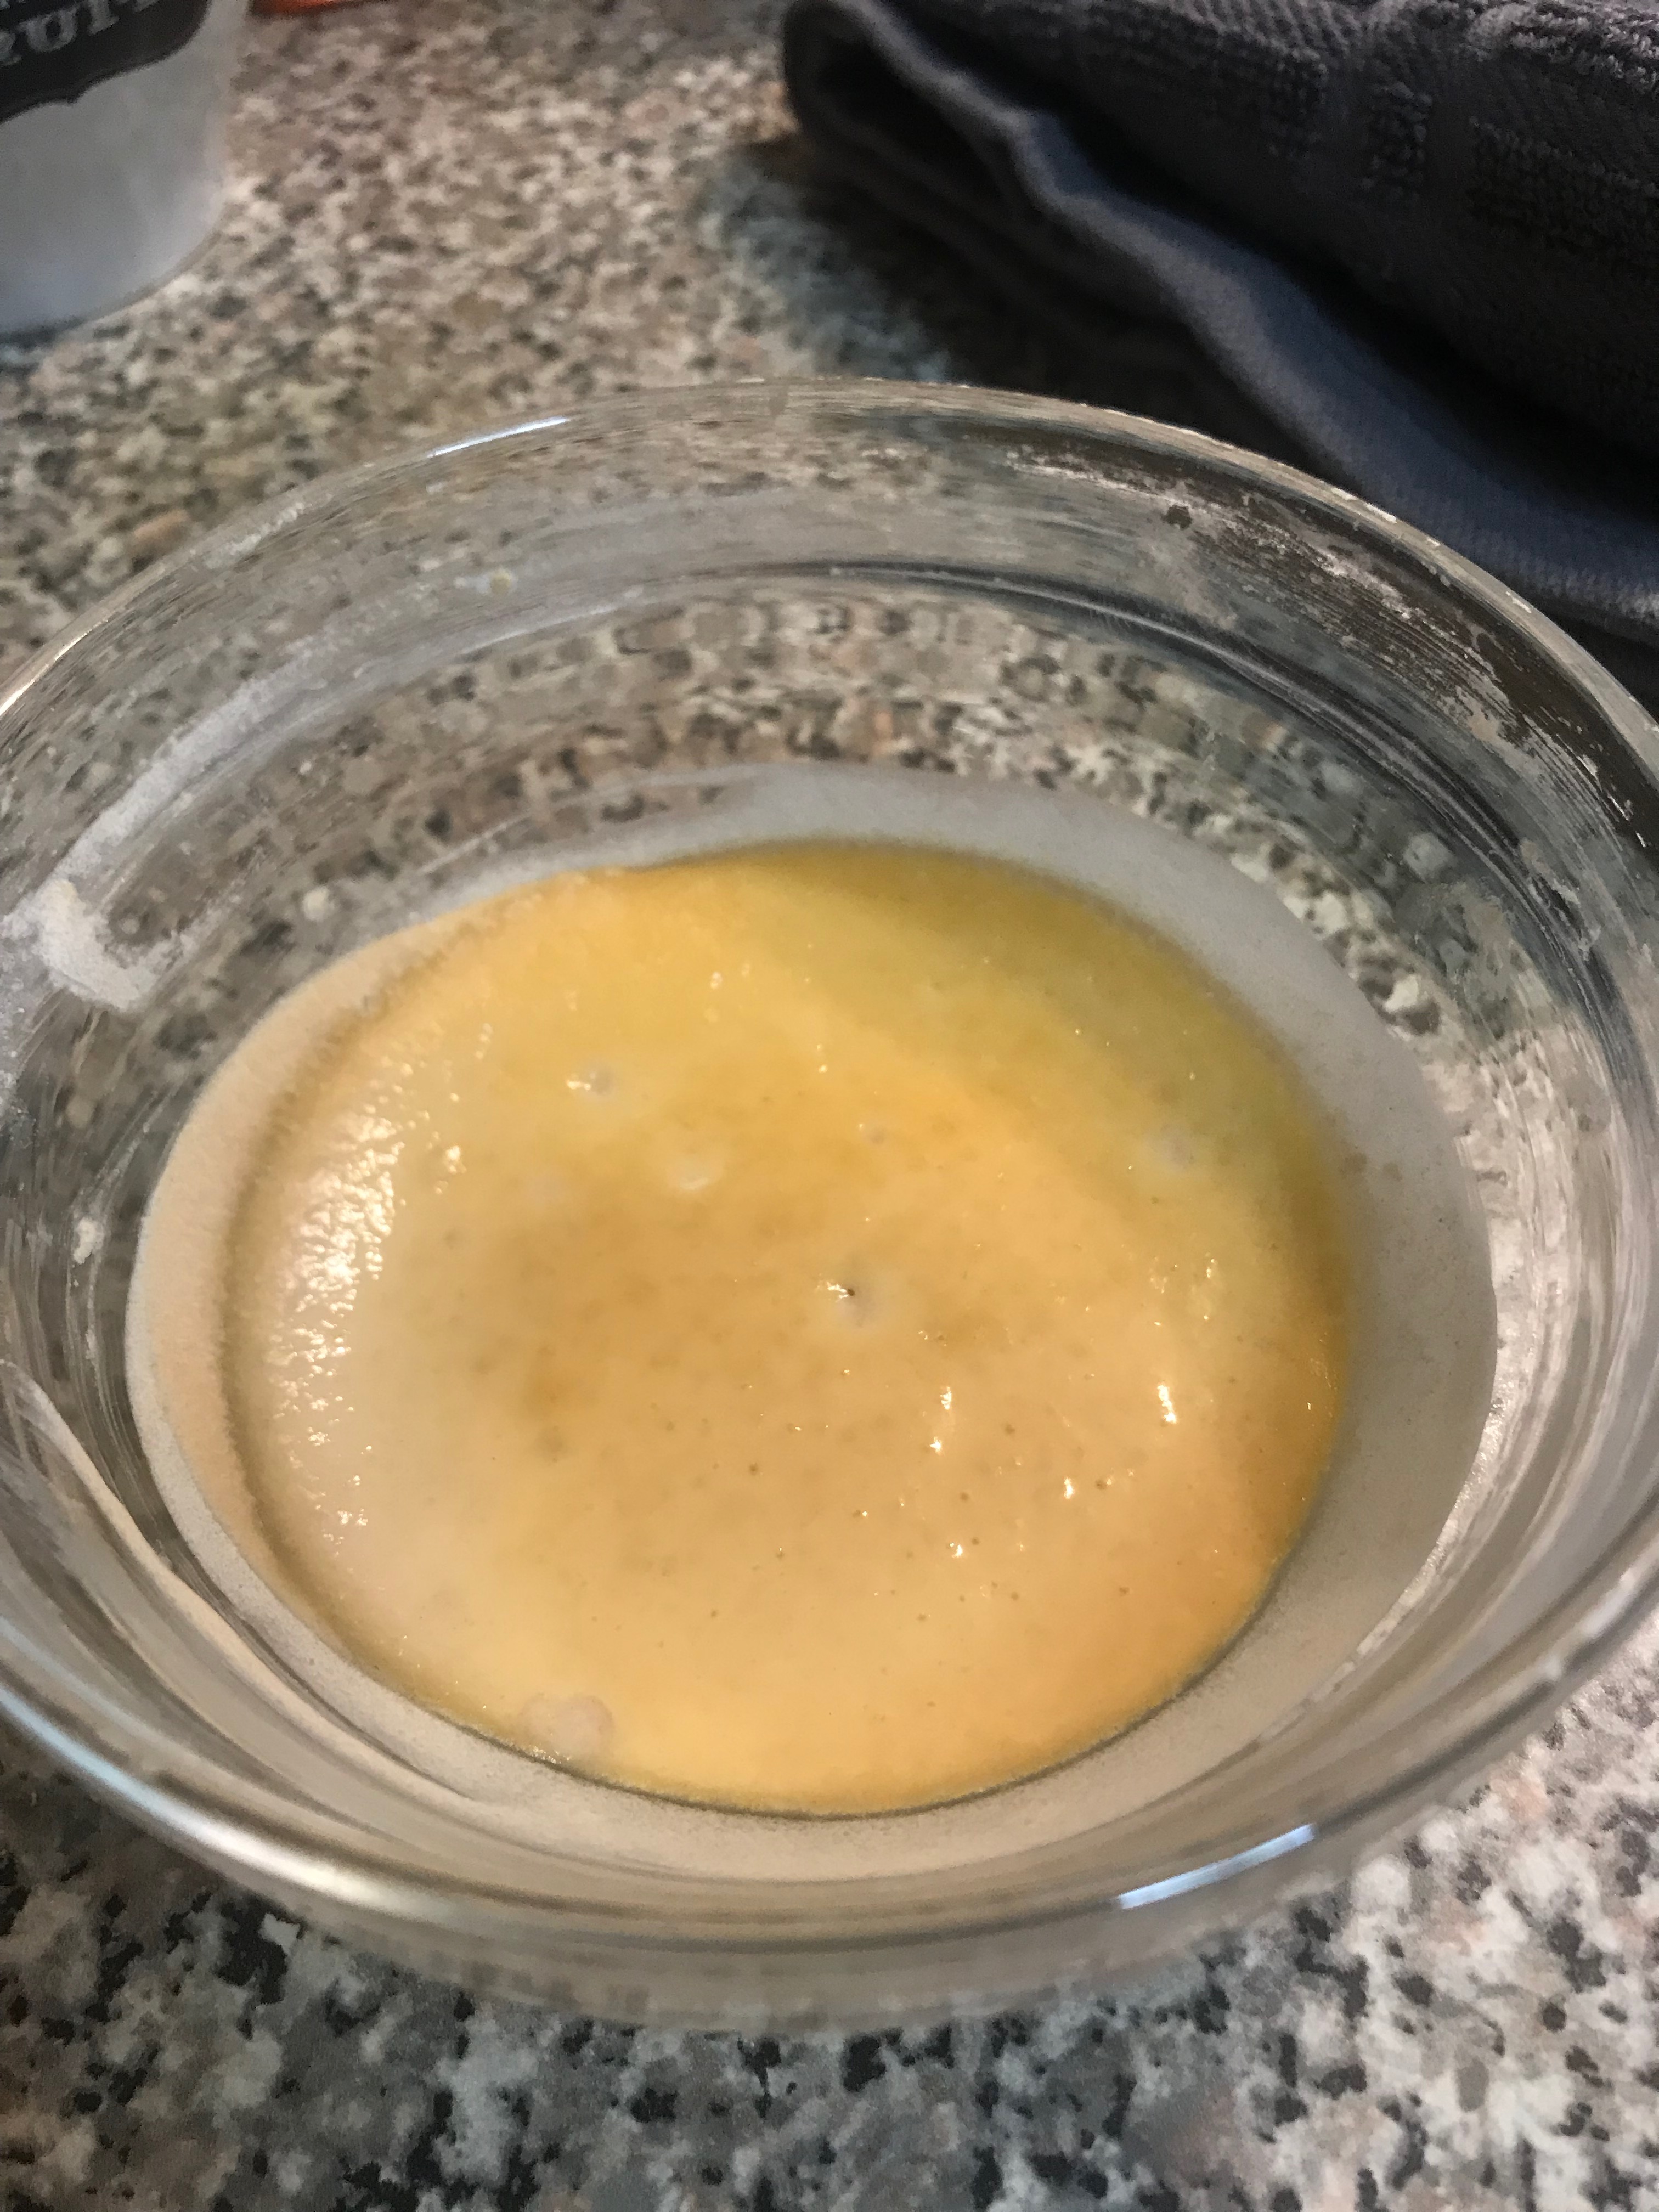
When checking on the culture today I noticed that a skin layer had formed on top of the culture. I also noticed that although it had not formed gas bubbles along the edge of the glass container, there were gas bubbles that had formed on top of the culture beneath the skin. Although I’m still sick, I did notice that the culture didn’t have such a cheesy smell this time. Instead it had more of a yeasty-wet-flour smell to it, this could be a possible indicator that the yeast bacteria that I’m trying to cultivate could final be starting to mature. Will definitely make and keep a note of this as the experiment goes on.

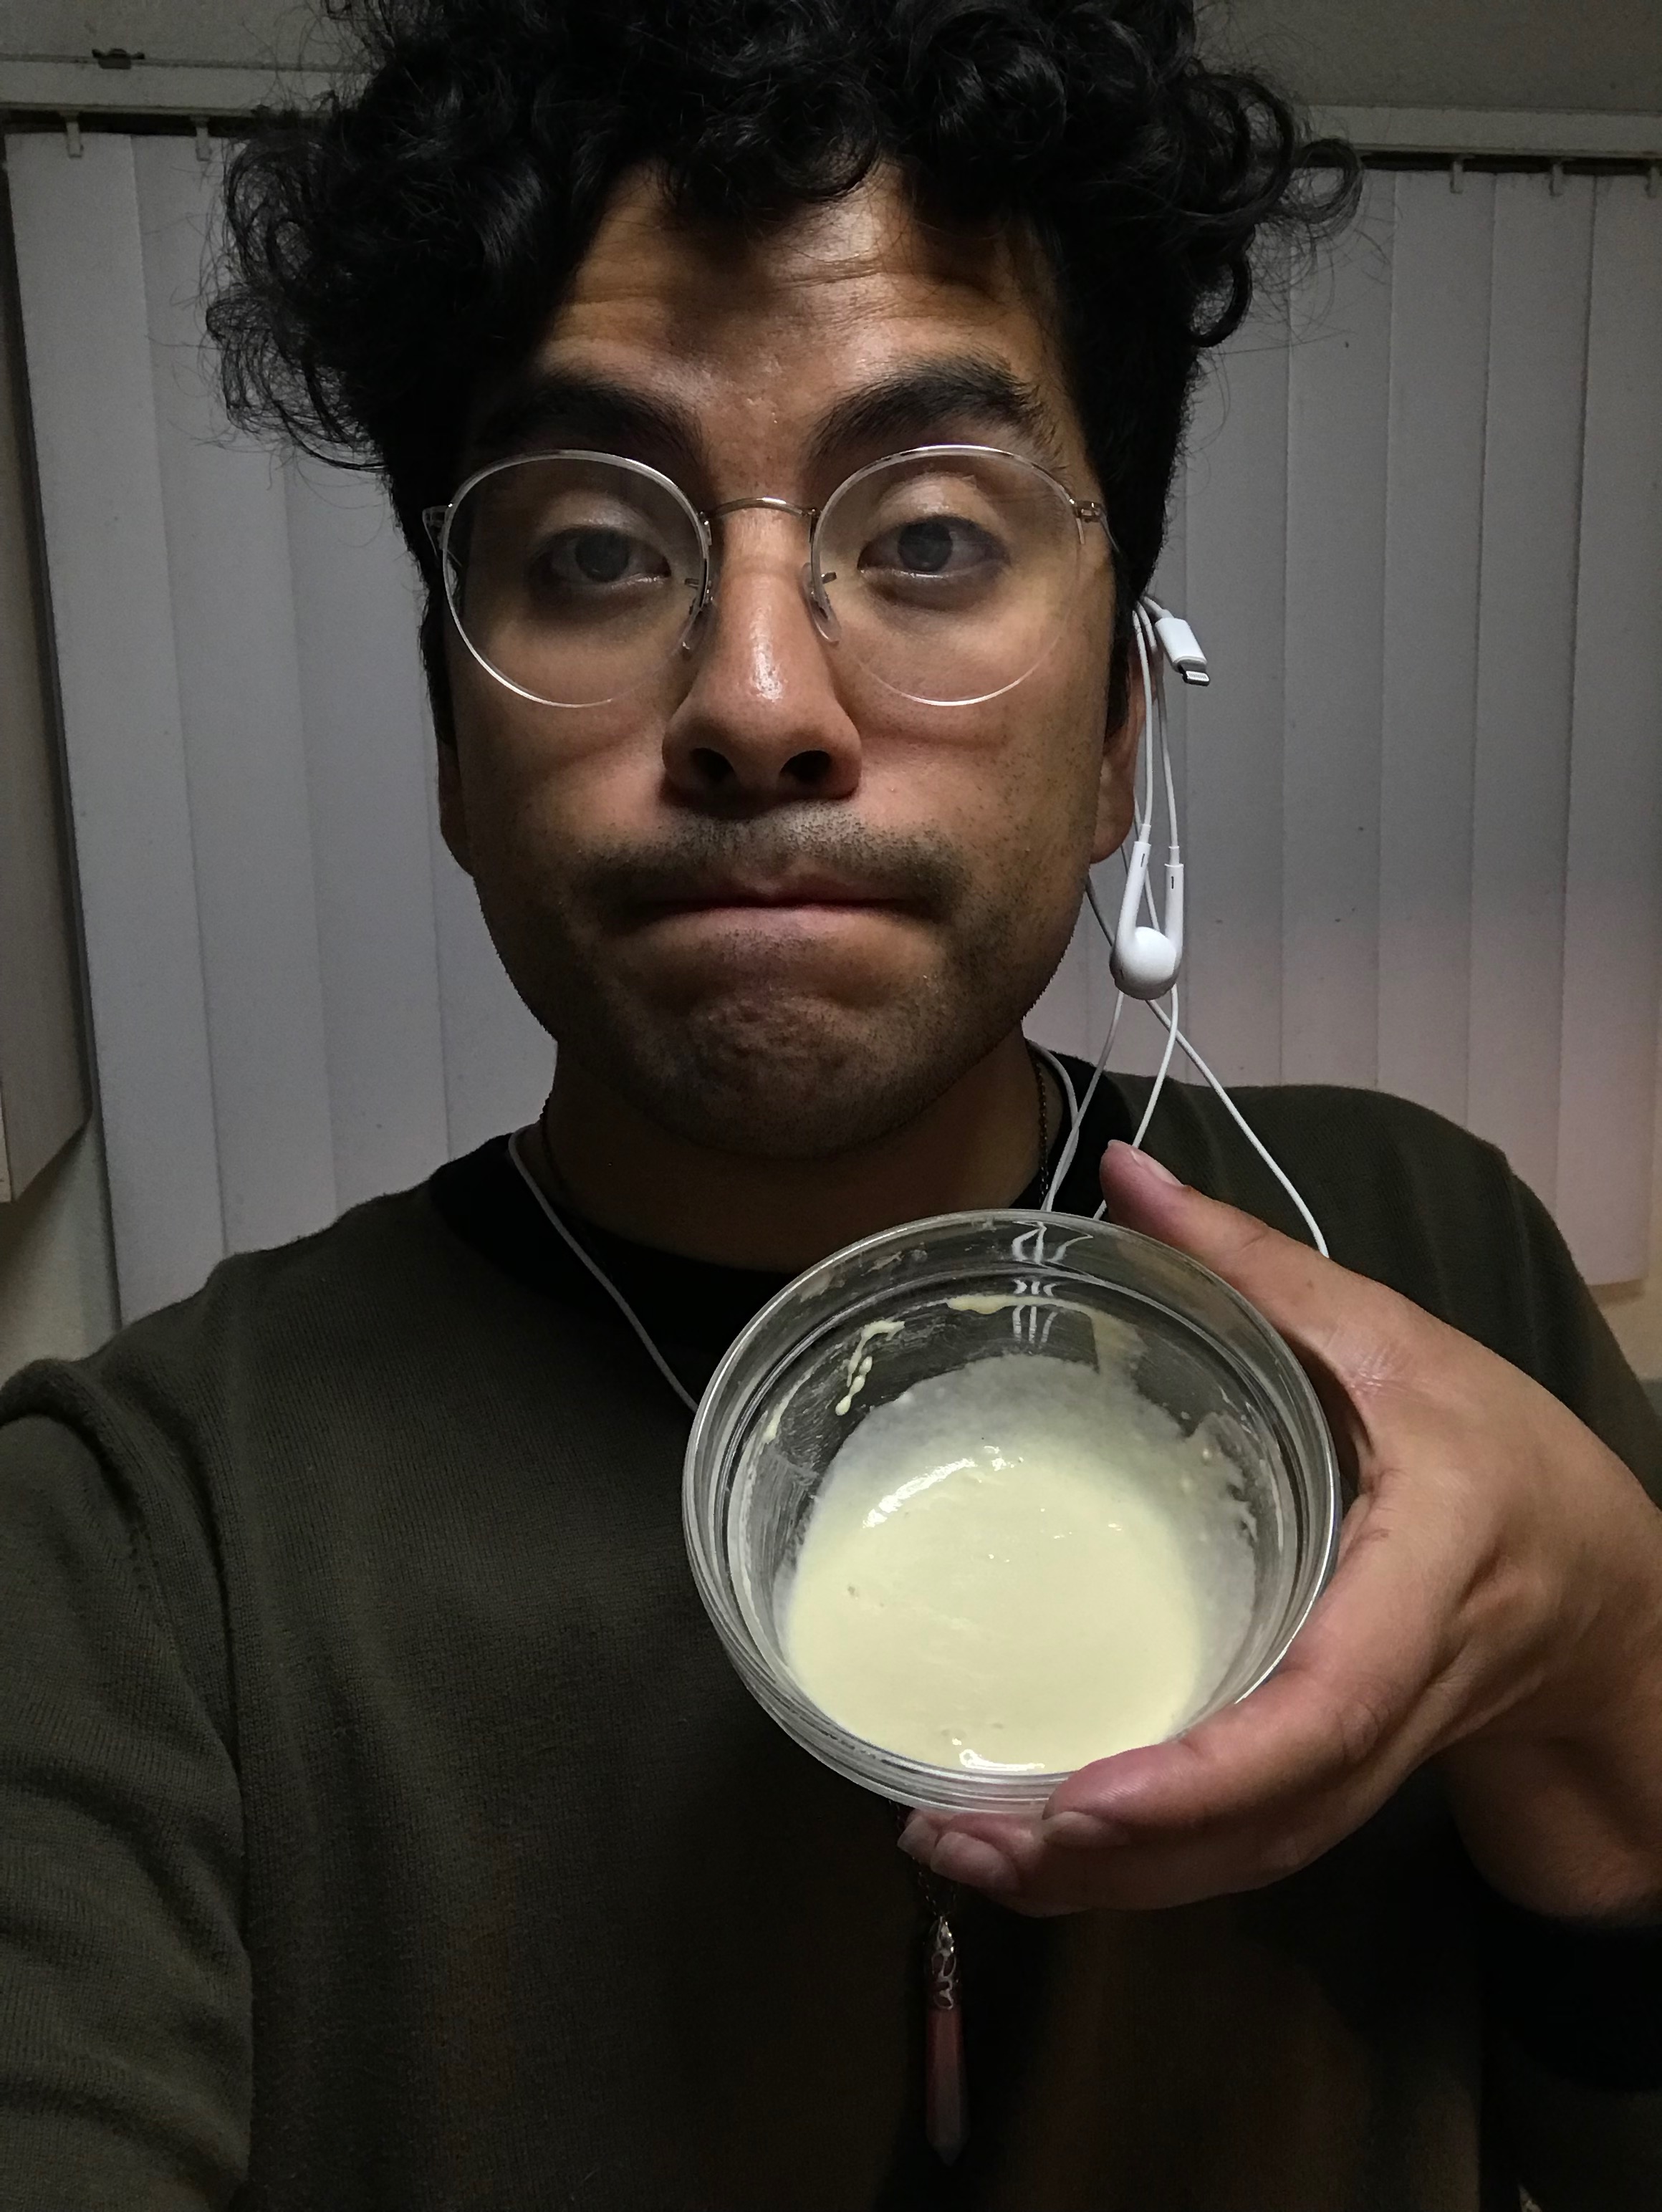
I then proceeded to cultivate some of the culture and transfered it into a new bowl and proceeded to follow the same steps as before to feed, mix, and store afterwards.

Day 7

Today began the part of the experiment where I will be feeding my culture everyday in order to promote its growth. Although the culture didn’t show much gas bubble formation as before, I still chose to proceed with the steps of cultivation and feeding of the culture. Due to catching a cold I lack my sense of smell, so I asked my nephew to smell the culture for me before I began to transfer 1 tsp into a new bowl. He confirmed once again that the culture did have a cheesy smell to it, however this time it seemed a bit stronger in odor as his face did scrunch up after having a smell.

Once the culture was transferred into a new bowl, I then feed it with the flour mix and mixed it with lukewarm water till it reached a smooth consistency.

I did notice that this time there wasn’t a prominent skin formed on top of the culture.

Day 5 (technically Day 6)

Following the previous incubation period my culture showed no signs of gas bubbles forming, so I let it go for an addition day to give it some time before proceeding. Low and behold when I went to check on it today, gas bubbles had formed!

Photo 1: The “skin” layer that forms on top of the culture
Photo 2: Gas bubble formation

With the gas bubble conformation, I proceeded to peel back the skin in order to get down to the culture. While removing the skin I did notice that the smell this time around was very light this time, it wasn’t too overwhelming like last time. This time it had a very mild cheese smell, kind of like a sweet and nutty cheese smell.

Photo 3: The skin was pretty tough around the edges. Before removing it with a spoon, I had to loosen it with the back of my nail.

I repeated the same steps as before (1) removed ~1 tsp of of the culture and place it into a new clean bowl ( I just removed the culture and washed the bowl to reuse it), (2) add 2tbsp of the flour mix to “feed” the culture, (3) gradually add lukewarm water while mixing with my bare hand until a smooth consistency is obtained, (4) cover with kitchen towel and place back into a cool dark place to incubate.

Photo 4: Current culture that will be incubating!

Day 4

The culture still kept the same dry texture as yesterday. In order to remove the “skin”, I had to first reconstitute (rehydrate) the culture by adding some lukewarm water and letting it soak into the culture. Since the gas bubble had already formed from the previous day, I continued to proceed with removing the dry top lay, which I was supposed to photograph but forgot. But once the top layer had been removed I did notice that after rehydrating the culture the cheese smell was a bit more intense this time around. Once the dry top layer was removed I collected ~1/2 tsp of the culture and added it to a small clean bowl, I was able to find a smaller bowl than the one previously used so I’m hoping that the culture will not dry out this time around. Into the new bowl I added the sample of the old culture along with 2 tbsp of the feed mixture (flour mixture), along with enough lukewarm water in order to once again obtain a smooth pancake batter like consistency. I did the mixing with my hands of course and this time instead of using the measuring spoons to add the water I just used my none mixing hand to transfer the water. Once all of that was done, I proceeded to cover the culture with a kitchen cloth, wrapping it with a rubber band once again, and then placing it back into its dark little corner in my kitchen.

Day 3

*author’s note: I had fallen asleep last night before having pressed publish to make this post on time*

Today (3/19) when I went to check on my culture, I noticed that the top had dried out and cracked even with a “skin” having formed on top. This probably happend as a cause of my small bowl not being small enough to keep the culture from spreading out and obtaining more surface area. Luckily though, it was able to produce the gas bubbles needed to identify that inoculation of the culture had indeed taken place. The sight of bubbles was pleasant, however the smell of it was not. It did have the tone of a yeasty smell but it was over powered by a very cheesy/sweaty foot smell, very reminiscent of a blue cheese smell.

Update: Since I was unable to upload the images earlier, here they are.

Photo 1: Myself with my culture, can tell just how dried out it got.
Photo 2: As see in the image, gas bubble were able to form before the culture dried out.

Day 1

Today we begin the glorious adventure of cultivating the starter culture!

The materials I used were;

  • 1 small glass bowl
  • 1 tablespoon measurer
  • a kitchen cloth
  • rubber bands (optional)
  • flour mix
  • lukewarm water
  • my hand (for mixing)

To get the lukewarm water I mixed cold bottled water and boiling water at a 2:1 ratio respectively, or until the water mixture was slightly warm to the touch. Not too hot and not too cold. From there I took 2 tbsps of my flour mix and added it into my small bowl. Then with my clean hands and my tbsp measure, I began to add the water gradually while mixing with my bare hand. Using my left hand to add the water with the tbsp measure and my right hand to mix. I continued to mix until the consistency was that of pancake batter, I made sure to mush out any clumps of flour to make the consistency of the flour and water slurry as smooth as possible. I then took the kitchen cloth and placed it over the bowling and used a rubber band to secure the cloth in place. I then placed the bowl in a nice shady spot in my kitchen to ferment. I will come back to it in 2-3 days.

My clean bare hands are use to inoculate/introduce the bacteria and yeasts from my hands and my kitchen into the slurry. Say if I were to wear gloves or totally avoid all contact between my hands and the mixture none of the necessary microbes needed to start the yeast cultivation would be introduced into the mixture. Thus, not allowing the experiment to continue.

Day 0

For the “first” day of this experiment, all I had to do was prepare my feeding mix that will be used to feed/grow my starter culture until it is mature enough to bake the sourdough. The feed mix is composed of a 1:1 cup ratio of bread flour and whole wheat flour. I was unable to find bread flour, so instead I substituted with all purpose flour. The flour mix was then placed into a large 1 gallon ziplock bag for storage.

Background

A brief intro would probably be great to help explain what’s going on here. So, I am currently a Microbiology Major at CSULA and I am currently taking a course on Applied & Environmental Microbiology (Micro 3900). As part of this class one of our assigned projects requires us to make sourdough bread at home. So exciting! Mainly because I’ve alway wanted to make sourdough before, but never really worked up the energy to do it.

In this experiment I will be following a modified recipe from Tartine Bread by Chad Robertson (Chronicle Books 2010; ISBN 978-0-8118-7041). As this is a microbiology class instead of using a ready made packet of yeast to help leaven the bread I will be cultivating wild yeast from my kitchen and hands (don’t worry I will be washing them before starting any step). Once the culture has matured, I will then proceeded to prepare the bread dough and bake my sourdough bread. So, follow along with me as I try and nurse my young starter culture into a full grown adult to make a loaf of bread that hopefully doesn’t end up terribly wrong.